
Modern image formats come with huge quality and compression improvements, but at the cost of accessibly until there is wider adoption. Right now (2022-08) Pillow, PIL’s primary fork, doesn’t have support for either AVIF or HEIF of the box. But thanks to other packages we aren’t out of luck!
First we need some example images to work with. Here are some I took recently of the lovely model Michaela Hartnett that have been converted into AVIF and HEIF to play with.
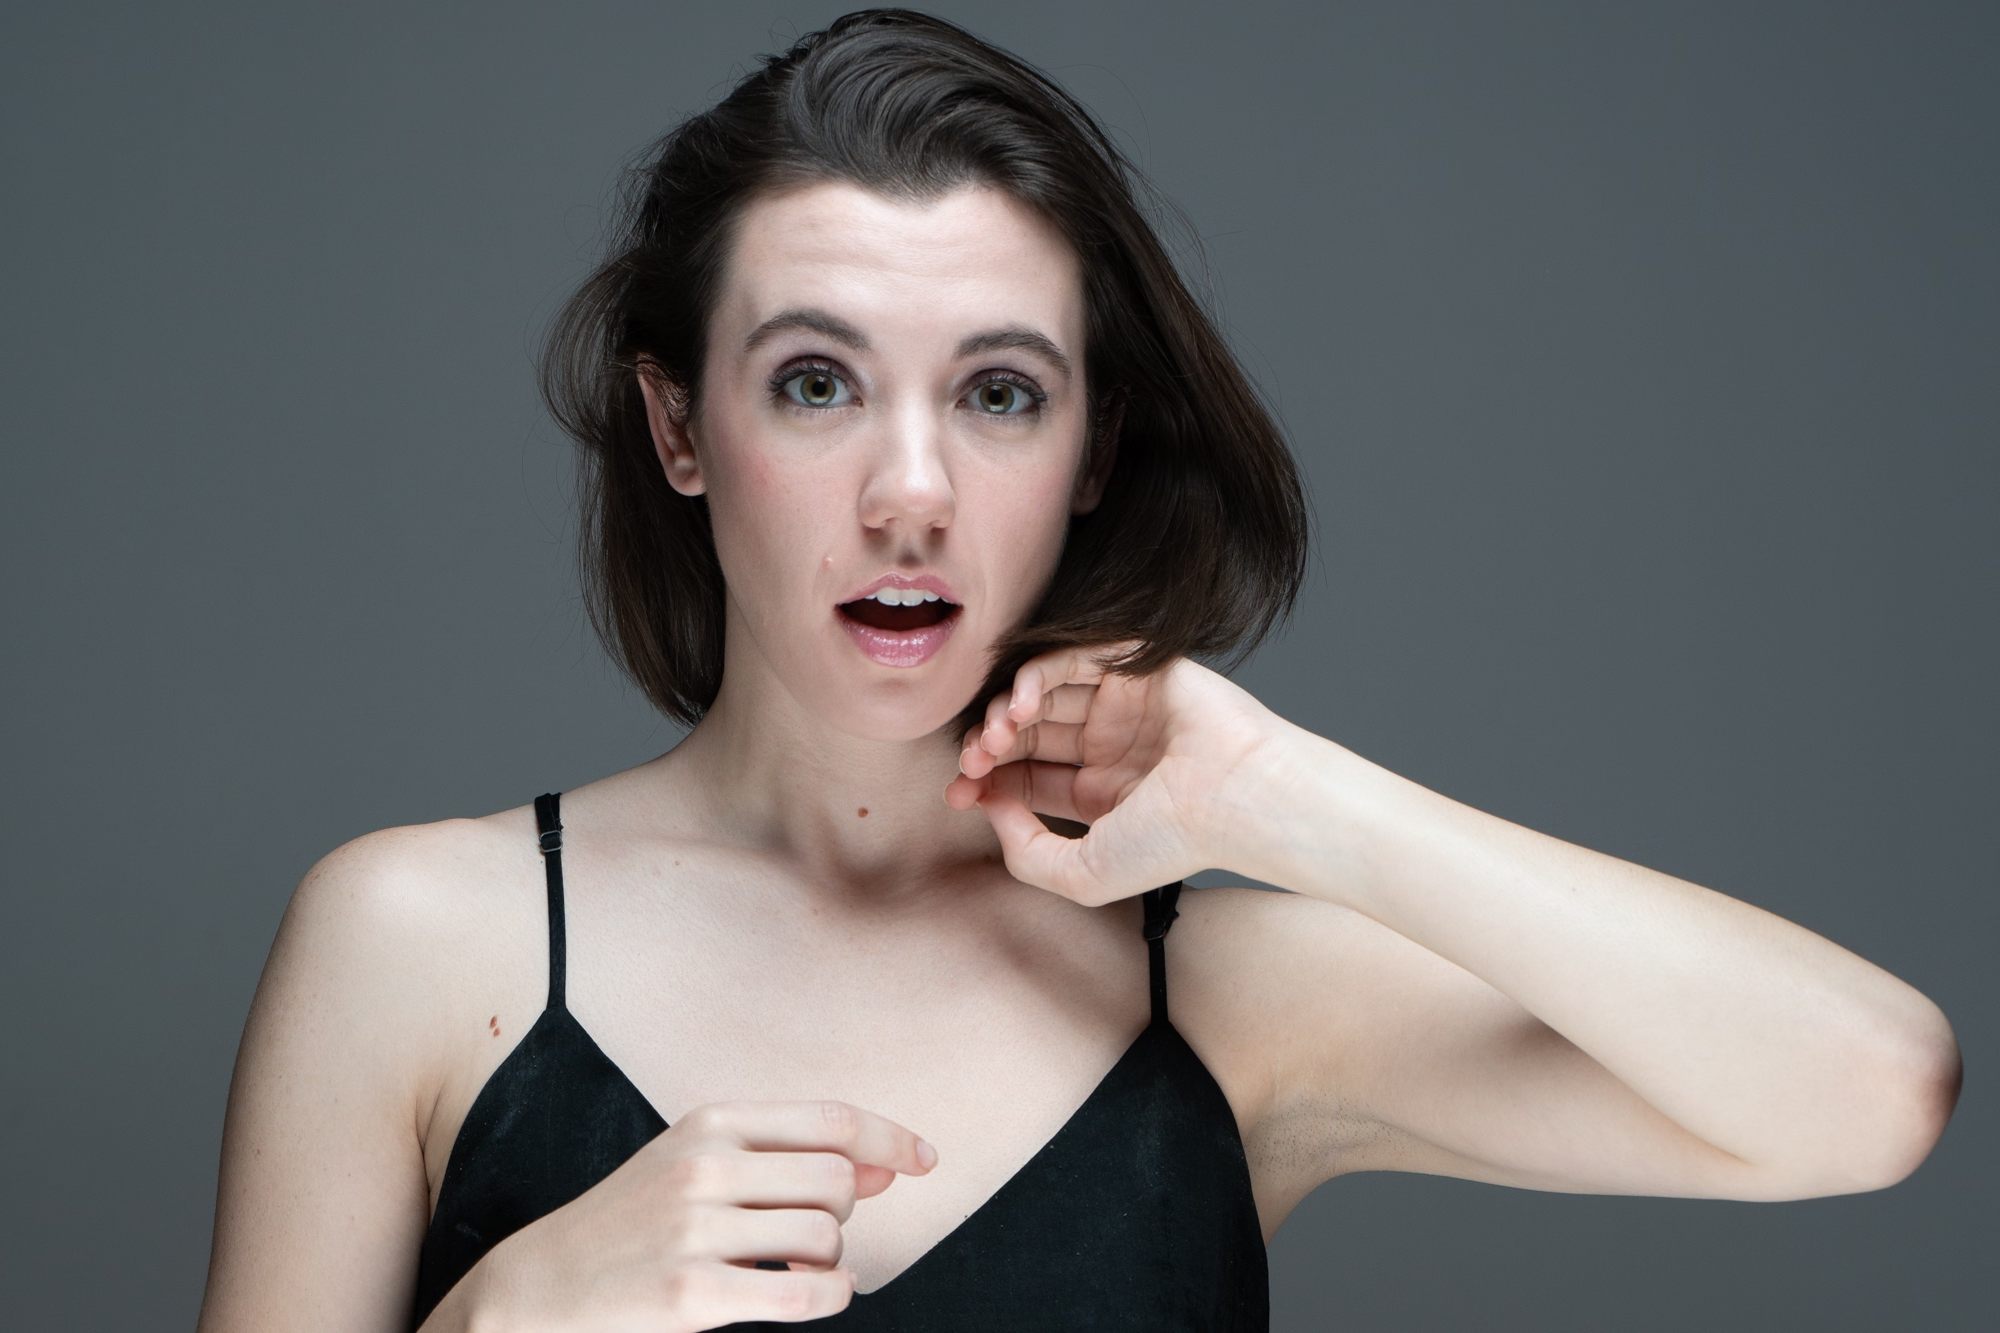
AVIF
There are two primary libraries we could use for AVIF support with Pillow, either pillow-avif-plugin or pillow-heif. For now we will stick with pillow-avif-plugin, as it’s being well maintained specifically for AVIF and has animation support! Don’t forget to run this in a venv.
pip install pillow pillow-avif-plugin --upgrade
Let’s write a simple program that takes our test image, turns it into a thumbnail size, and pops it back out as another AVIF image again.
import pillow_avif  # Have to import this before importing PIL
from PIL import Image

image = Image.open("avif_test.avif")
image.thumbnail((512, 512))
image.save("avif_thumb.avif", quality=70)


Image.open("avif_thumb.avif").show()
And it’s just that simple! You can of course convert other types of images to AVIF now, or take AVIF to other formats as needed.
AVIF Sequences
If you want to try out converting a gif to an avif, here is a large (14MB) sample GIF to play with if you don’t have your own.
Also if you aren’t using Chrome to view the output file, it won’t play as expected most likely.
import pillow_avif  # Have to import this before importing PIL
from PIL import Image

image = Image.open("artist.gif")
image.save("avif_artist.avif", quality=70, save_all=True)
Currently there isn’t much support for AVIF (or HEIF) sequences anywhere, so I would advise holding off converting your GIF library just yet.
HEIF
Just like there are two good packages with AVIF there are also two options for HEIF, either pillow-heif or cyheif. We will use pillow-heif as it’s better integrated and has a lot more support, and it even has AVIF support itself, but the animations were not working for me at this time.
pip install pillow pillow-heif --upgrade
We’re going to do the same thumbnailing as we did before, but now with HEIF.
from pillow_heif import register_heif_opener
from PIL import Image

register_heif_opener()

image = Image.open("heif_test.heif")
image.thumbnail((512, 512))
image.save("heif_thumb.heif", quality=70)
image.show()
pillow-heif does have the advantage of also having a register_avif_opener as well to work with both HEIF and AVIF in a single package. However with my testing its AVIF encoder had lower quality results than pillow-avif-plugin.
What Quality to Use
The vague setting of quality leaves something to be desired, so lets look at what that translate to in terms of visual quality vs file size for each encoding time.
These are all being compared against the source PNG file of the model shown above using the SSIM_PIL package.
AVIF SSIM vs File Size

The pillow-avif-plugin
- Quality 100 – Amazing compressed quality (0.997 SSIM), highest SSIM score between AVIF, HEIF and JPEG
- Quality 93 – Very high quality (0.988 SSIM), half the file size of quality 99 and 100
- Quality 81 – High quality (0.970 SSIM), third of the size of the 93
Anything 80 and below is pretty linear.
HEIF SSIM vs File Size

In pillow-heif HEIF compression seems really poorly set up sadly. It stays topped out for a long time, and uses a large file size. It’s best only between around 0-30 quality setting.
Its high end is a very large file (larger than AVIF largest) and lower quality than AVIF’s highest.
Side by Side Comparison
Let’s put them all on the same chart and add JPEG as well.

We can see that AVIF takes the cake for quality vs size for anything over Quality 30. It’s much smaller file size than JPEG when paired at the same SSIM quality across the board. Even at the high end it’s higher quality and lower file size than HEIF.
Other Considerations
If you’re just looking to convert a few images to AVIF, or resize them, you’re probably better off using ImageMagick and some quick command line runs. Especially if you need 10 or 12-bit support, as Pillow doesn’t support outputting anything other than 8-bit images.
magick convert -depth 12 -quality 95 -strip example_16bit.tif 12bit.avif
Dedicated Conversion Program
I started looking into this myself for the ultimate goal of being able to right click on an image and convert it to an AVIF when needed. I went down the full route of packaging it into an exe as well to make it super simple and portable across my systems.
First install all the prerequisites into our venv. The packages we will use are:
- pillow
- pillow-avif-plugin
- pillow-heif
- pyinstaller
pip install pillow pillow-avif-plugin pillow-heif pyinstaller --upgrade
Then create a new python file, I called my avif_81q.py as I will be setting the output quality to 81.
#!/usr/bin/env python
# -*- coding: utf-8 -*-
import sys
from pathlib import Path
import traceback

# noinspection PyUnresolvedReferences
import pillow_avif
from PIL import Image, ImageOps
from pillow_heif import register_heif_opener

register_heif_opener()


def generate_output(image_path: Path, start_at=1) -> Path:
    """Find a good, not used, filename to use for the output file name"""
    if (output := image_path.parent / f"{image_path.stem}.avif").exists():
        if (output := image_path.parent / f"{image_path.stem}_{start_at}.avif").exists():
            return generate_output(image_path=image_path, start_at=start_at+1)
    return output


def convert(image_path: Path):
    image = Image.open(image_path)

    # Make sure the image is turned the right way
    if image.format != "GIF":
        image = ImageOps.exif_transpose(image)

    # Make sure it's not in a weird mode we need to change it from
    if image.format not in ("GIF", "AVIF") and image.mode not in ("RBG", "RBGA"):
            image.convert("RGBA")

    image.save(generate_output(image_path=image_path), quality=81, save_all=True)


if __name__ == '__main__':
    errors = 0
    for img_file in sys.argv[1:]:
        try:
            convert(Path(img_file))
        except Exception as err:
            traceback.print_exc()
        else:
            print(f"Converted {img_file} successfully")

    if errors:
        input(f"There were {errors} errors while converting, press enter to exit...")
The code is very simple that it takes a filename from the arguments sent to the program (aka if you drop a file on it, it will become that first argument) then saves it to an AVIF file. We’re adding pillow-heif so we could also convert HEIF to AVIF.
You can test it with any image file you have with python directly before packaging it up.
python avif_81q.py example.jpg
You should now have a sparkly new example.avif file!
Package into executable (cross platform)
Now we can package it into an executable, so you don’t have to worry about having your venv activated every time you user it.
pyinstaller avif_81q.py --onefile
This will take a minute to run and then create an executable named avif_81q.exe in a new dist directory it will create. You can now test out dragging an image file onto the exe itself, and making sure a new AVIF file exists beside the original file.
Add to Send To menu (Windows only)
To make it easy to use via right clicking on a file, I decided easiest way was to add it to the “Send to” menu.
First, create a shortcut to the executable by right clicking on it (hit Show More Options on Win 11) and hit “Create shortcut” near the bottom. Then rename the shortcut to whatever you want it to say (“AVIF Conversion”, “Convert to AVIF”, “AVIF 81quality”, etc…)
Next we want to add it to the Send To menu. Pull up the “run” window by hitting Windows Key + R (or type “run” into windows search and click on it.)

Type in “shell:sendto” into the “Open:” url bar, and hit “OK”.
This will open a new directory that has all the places you can send stuff. Move your new shortcut into there. Now when you right click on a file, and go to the “Send To” menu, you’ll see your program listed!


1 Response
[…] our test compressing an AVIF image vs a JPEG image, AVIF delivered smaller file size for higher […]